How do I start a manufacturing company for mousepads, counter mats, and playmats?
Establishing a business to manufacture cloth top mouse pad and Hard surface mouse pad is quite straightforward. This guide will walk you through the production methods for these two types.
There are four primary steps to start the business:
- Procuring the Necessary Machinery
- Gathering Production Materials
- Hiring Skilled Personnel
- How Custom Mouse Pads Are Made
Procuring the Necessary Machinery
Both types require cutting machines to shape the mouse pads to the desired size, typically using natural rubber as the base material.
However, the printing processes differ:
- Cloth top mouse pads require a dye sublimation print machine.
- PVC laminated printed paper mouse pads require a printer for paper printing. As printers are often expensive, we recommend finding a nearby printing factory to assist with this process.
Gathering Production Materials
The methods for applying the natural rubber base are also different:
- For PVC top mouse pads, the natural rubber material should be self-adhesive, also known as natural rubber with self-adhesive. This allows customers to directly adhere the printed paper to the natural rubber base.

- For cloth top mouse pads, a blank cloth is laminated onto the natural rubber base, referred to as blank cloth covered natural rubber material roll. After it is shaped to the desired size, the design is printed using a sublimation printing machine.
The blank cloth-covered rubber material roll is versatile and can be used to manufacture various items like mouse pads, playmats, yoga mats, and counter mats. There are multiple cloth options available, such as micro-woven cloth, polyester cloth, water-repellent Cordura cloth, and rough surface nylon cloth.
Hiring Skilled Personnel
Once the machinery and materials are ready, you need to hire skilled personnel to handle production. Then, you can begin the mouse pad, counter mat, desk mat, and playmats business.
How Custom Mouse Pads are Made?
When we have the above conditions, we are fully prepared to start producing mouse pads. Now let’s start making mouse pads. Creating a mouse pad involves a detailed and meticulous manufacturing process. Below, we explore how these essential computer accessories are crafted from start to finish.
Step 1: Material Preparation
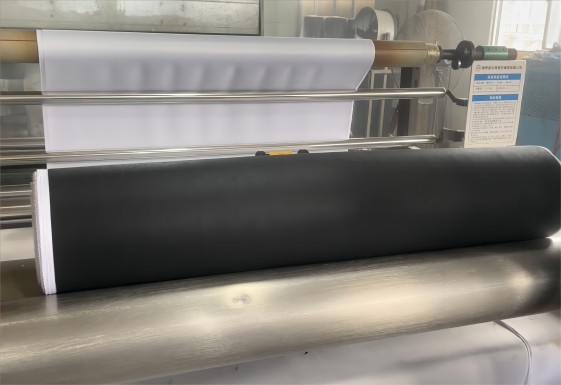
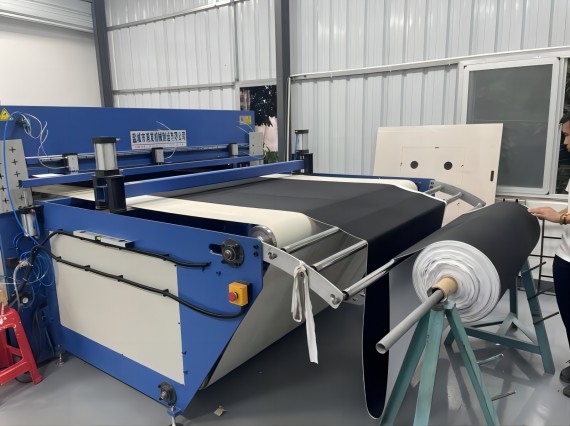
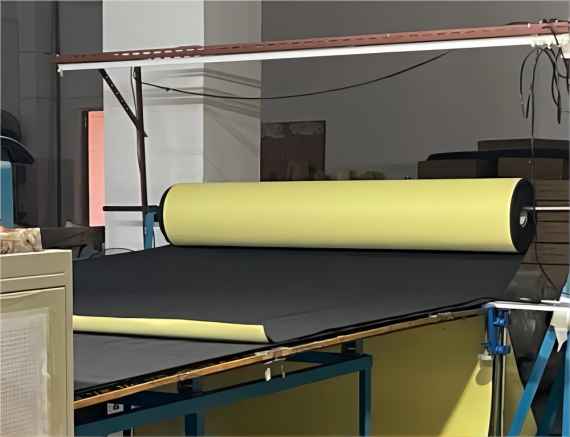
The first step in making a mouse pad is to prepare the base material, such as blank-cloth covered mouse pad material roll or Self Adhesive Natural Rubber Roll. These materials are typically placed on large rollers, this setup helps in handling the mouse pad material efficiently and aids in mass production.
Below are two pictures. One shows the blank-cloth covered mouse pad material roll on a large roller, while the other shows a self-adhesive natural rubber roll on a large roller.
Step 2: Dimensional Accuracy
Next, it’s crucial to measure the material. This ensures that each mouse pad meets the required dimensions, which might vary, especially if they are custom designed.
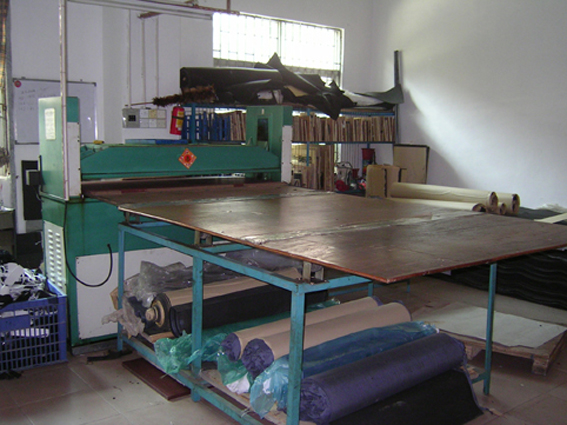
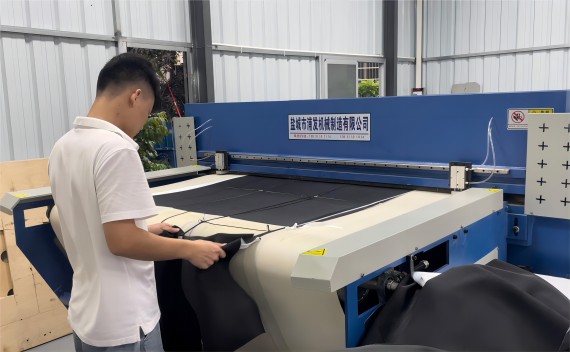
Step 3: Cutting Process
After measuring, the material is cut into the desired shapes. This is usually done precisely to maintain consistency across all pads.
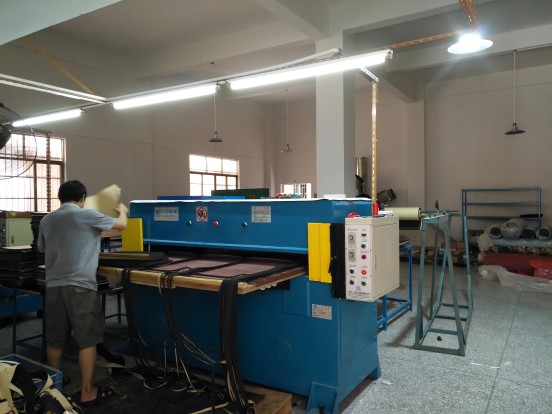
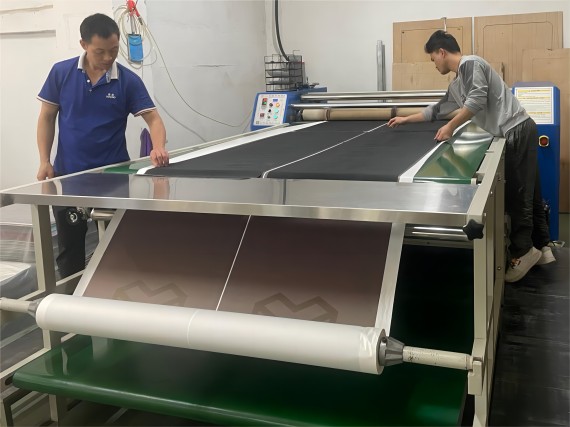
The first illustrates the process of cutting a blank cloth natural rubber material roll. For more details, please refer to the video ‘Sublimation Mouse Pad Blanks Manufacturing Process‘.
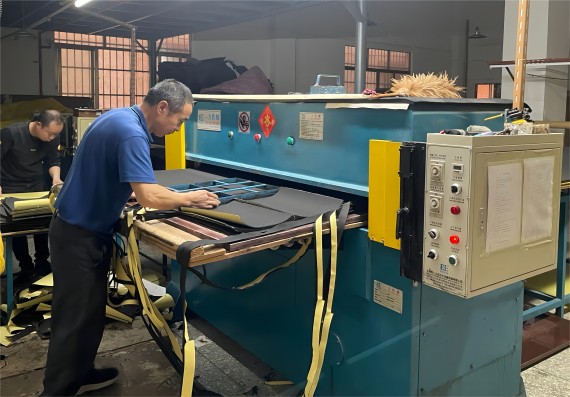
The second image shows the cutting process for a self-adhesive natural rubber roll. For more information, please refer to the video Self-Adhesive Natural Rubber SBR Neoprene EVA Rubber Sponge Mouse Pad Material Manufacturing Process.
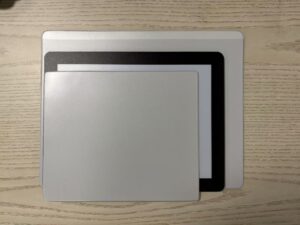
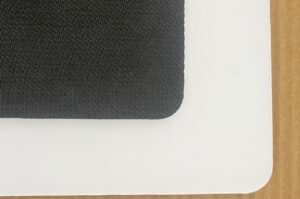
Step 4: Adding the Non-Slip Base
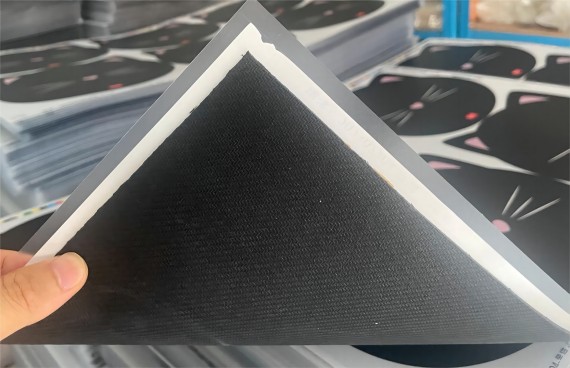
After the cutting process, a non-slip natural rubber base is attached to the bottom of each pad. This layer is vital as it improves the mouse pad’s grip on various surfaces, enhancing the user experience and ensuring its longevity. Note that this step is only applicable to Hard Mouse Pads.
Below is a picture showing the appearance after the PVC layer is glued to the non-slip natural rubber base.
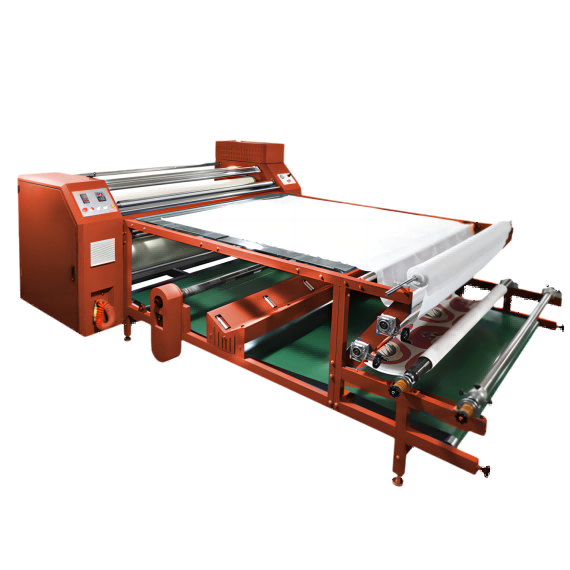
Step 5: Design Application
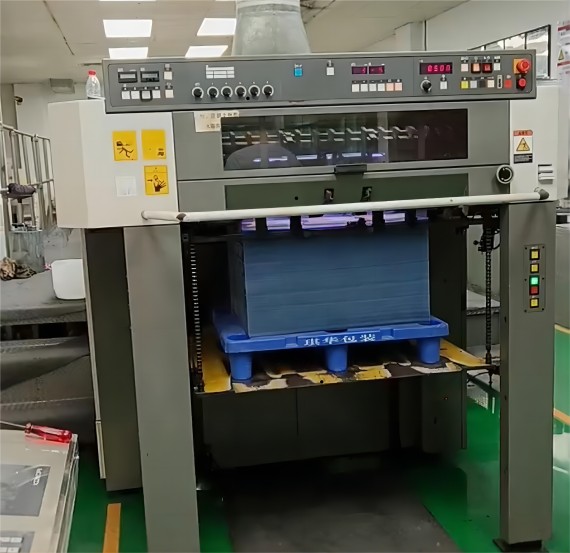
The visual design, which can vary significantly in theme or brand, is then applied to the cut material using techniques such as heat transfer or full-color printing. The method of imprinting the design may vary depending on whether the material is hard or soft. This step is specific to soft mouse pads. For hard mouse pads, the first step is 4 color offset printing.
Below is an image illustrating the dye sublimation process for mouse pads. You can also refer to our video Dye Sublimation printing Process for Yoga Mat Gaming mouse pad Playmats Battle Wargame mat Desk mat.
Step 6: Quality Assurance
Once the mouse pads are assembled, they undergo rigorous quality testing. This process checks for any defects like misprints or uneven edges, ensuring that each pad is up to standard before it hits the market.
Step 7: Final Product
Once they pass quality control, the mouse pads are deemed ready for use. Whether for gaming or regular office work, these pads are now set to provide a smooth, responsive surface for mouse operations.

By following these steps, manufacturers can produce high-quality mouse pads designed to enhance the computing experience for users of all types.
Conclusion
Once they pass quality assurance, the mouse pads are considered complete and are ready to be packaged and sent out. This detailed method allows for high customization and ensures that end-users receive a durable, attractive, and functional product.
This step-by-step breakdown clarifies the complex yet intriguing process of making custom mouse pads, highlighting the technological and creative efforts that go into producing each item. Whether for promotional purposes or personal use, custom mouse pads serve as an excellent example of practical customization in everyday items.
This guide provides a basic understanding of how to start a mouse pad, counter mat, and playmats business. For more detailed information about the production process, please feel free to send us an inquiry.